
Last updated October 31, 2026
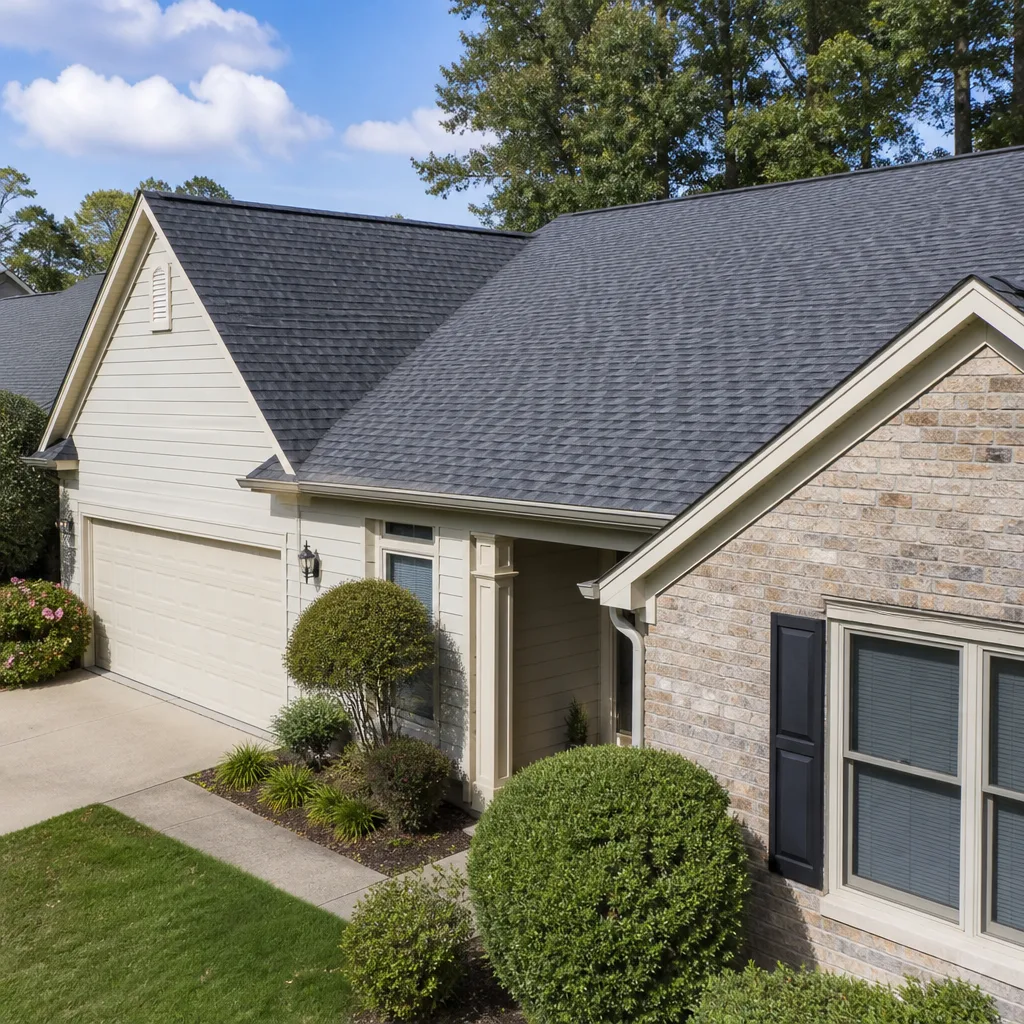
 Architectural shingles
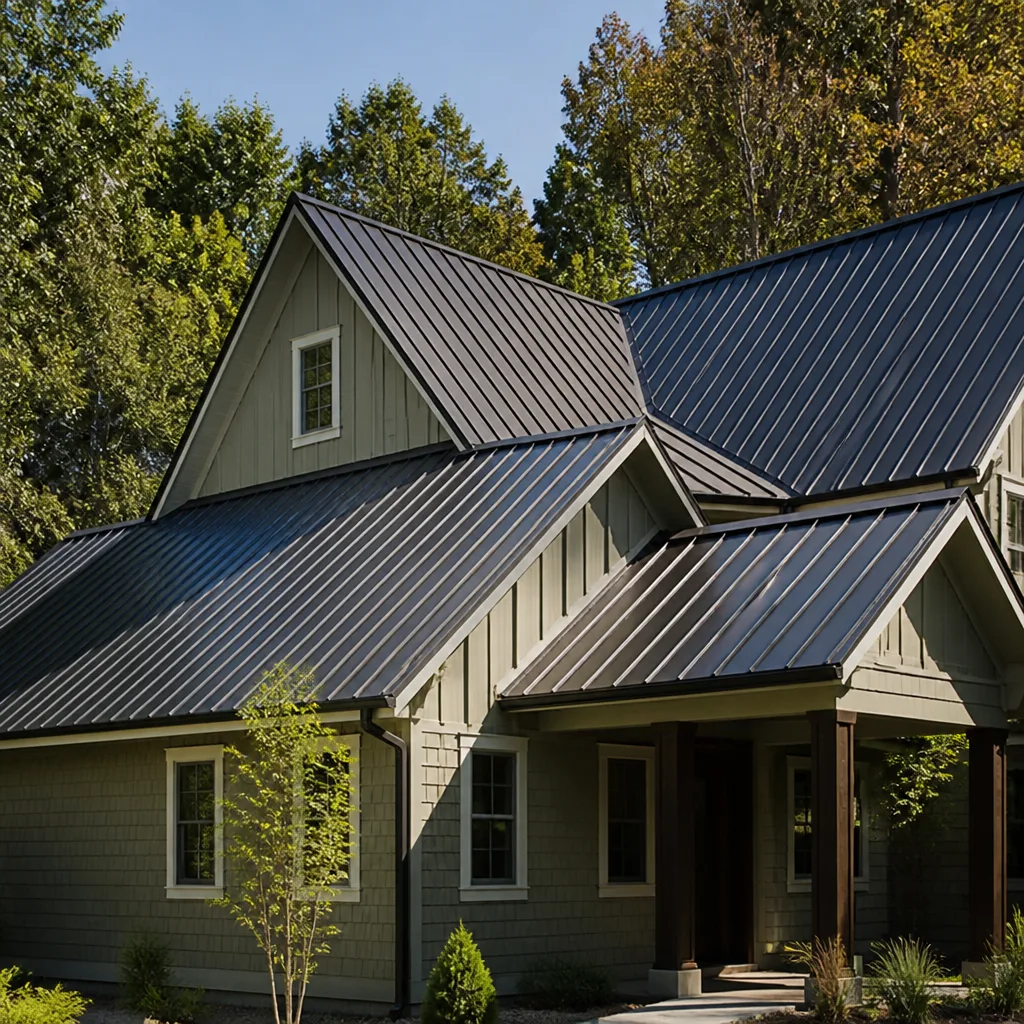 Metal roofing
 Tile roofing
 GAF
 Owens Corning
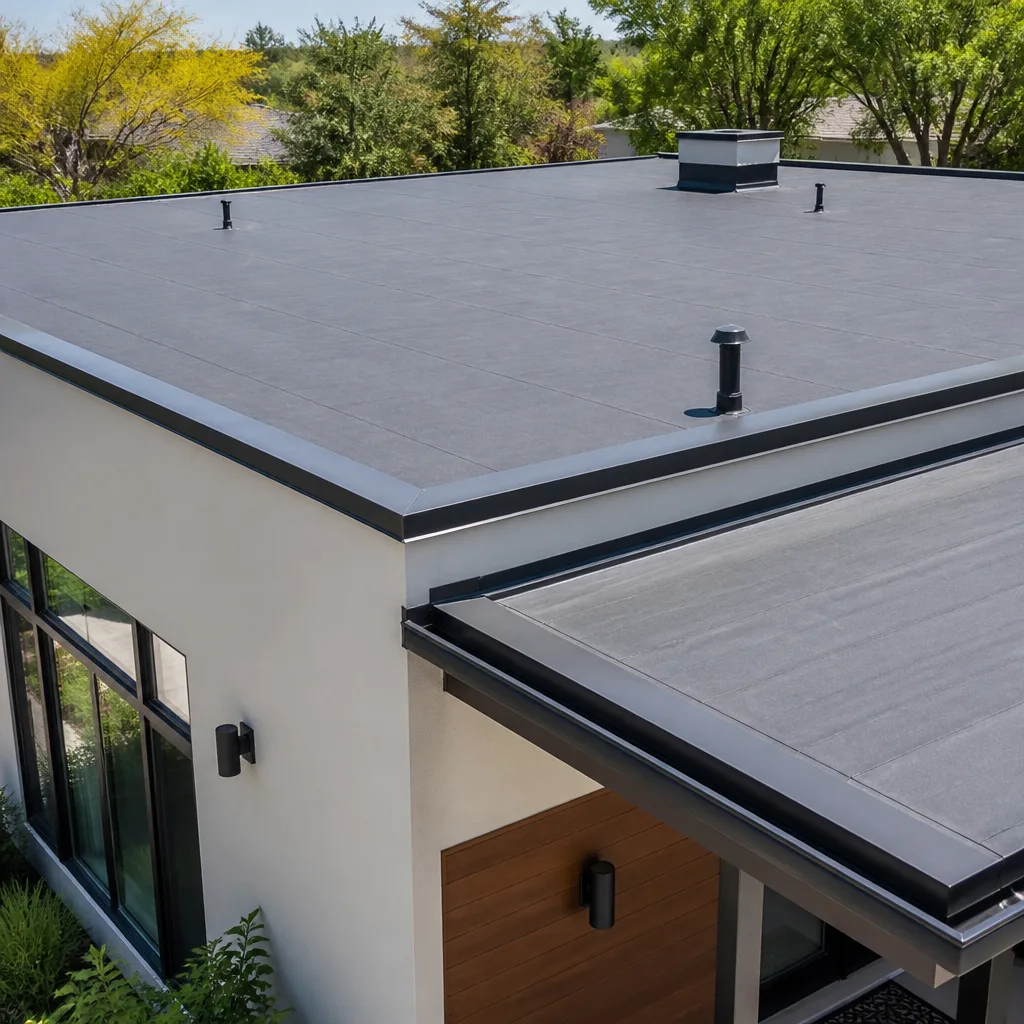 Flat & low-slope
Free roof inspection with deck photos before we talk money - GAF and Owens Corning certified installation
Roof Repair Troubleshooting: Common Problems and How to Fix Them
The leak stain on your ceiling is almost never directly below where the water entered your roof. Water can travel six feet or more along rafters, sheathing seams, and the topside of your ceiling drywall before gravity finally pulls it through. That single fact explains why so many homeowners in Santa Ana patch one spot, wait for the next rain, and watch a new stain bloom three feet away. This guide runs the diagnostic in the direction a professional actually works: from the interior symptom back to the exterior source. You’ll learn how to map a ceiling stain to its likely origin, which field checks you can perform safely from the ground or attic, and which problems genuinely need a repair crew versus which ones have already dried out and closed themselves.
Styles & brands we work with
Quick Answer
Roof Repair services start with the interior symptom, not the exterior damage. Most ceiling stains trace back to one of five exterior failure points: flashing, valleys, field shingles, ridge caps, or penetration boots. In Santa Ana’s climate, the most common culprits are deteriorated pipe boot gaskets, step flashing gaps at sidewalls, and valley obstructions from wind-driven debris. Matching the stain pattern to the failure type tells you whether a targeted repair will hold or whether the underlying system needs replacement.
Table of Contents
- Mapping Ceiling Stains to Exterior Sources
- Three Field Checks You Can Do Without Climbing the Roof
- Flashing Failures: Why Most Are Installer Errors
- Active Leaks vs. Historic Moisture: Knowing the Difference
- Four Problems Contractors Usually Fix Correctly
- Two Problems Contractors Routinely Misdiagnose
- What Santa Ana’s Climate Does to Roofs
- Material-Specific Troubleshooting: Asphalt, Tile, and More
- Common Mistakes to Avoid
- When to Call a Professional
- Frequently Asked Questions
- The Bottom Line
Mapping Ceiling Stains to Exterior Sources
A stain’s shape, color, and location on your ceiling are diagnostic data. They tell a story about where the water entered, how long it has been traveling, and whether the leak is active or dormant. The trick is learning to read the pattern before you cut into drywall or pay for a repair you don’t need.
Stain Pattern 1: A Single Brown Ring, Center of the Room
This is the classic penetration leak. The water entered at a pipe boot, attic vent, or roof-mounted fixture, ran along a rafter or sheathing seam, and pooled at a low point before soaking through. In Santa Ana homes built in the 1960s and 1970s, the original galvanized pipe boots have often rusted through at the base by year 40 or 50. The fix is usually a replacement boot, not a roof replacement, but the boot flange must be slipped under the shingle course above it, which means lifting shingles and resealing. A repair that simply caulks around the base will fail within one wet season.
Stain Pattern 2: A Diagonal Line of Stains, Following a Straight Path
This pattern indicates a valley or flashing leak. Water enters at a roof valley or at the intersection of a wall and roof, then travels along a rafter before dripping through. The distance between the exterior entry point and the interior stain can be astonishing. We have seen water enter at a valley on the south elevation of a Santa Ana home and drip through a hallway ceiling 12 feet away, on the opposite side of the room. Homeowners who patch the stained drywall without tracing the path end up repainting the same ceiling every two years.
Stain Pattern 3: Multiple Small Stains, Scattered Across the Ceiling
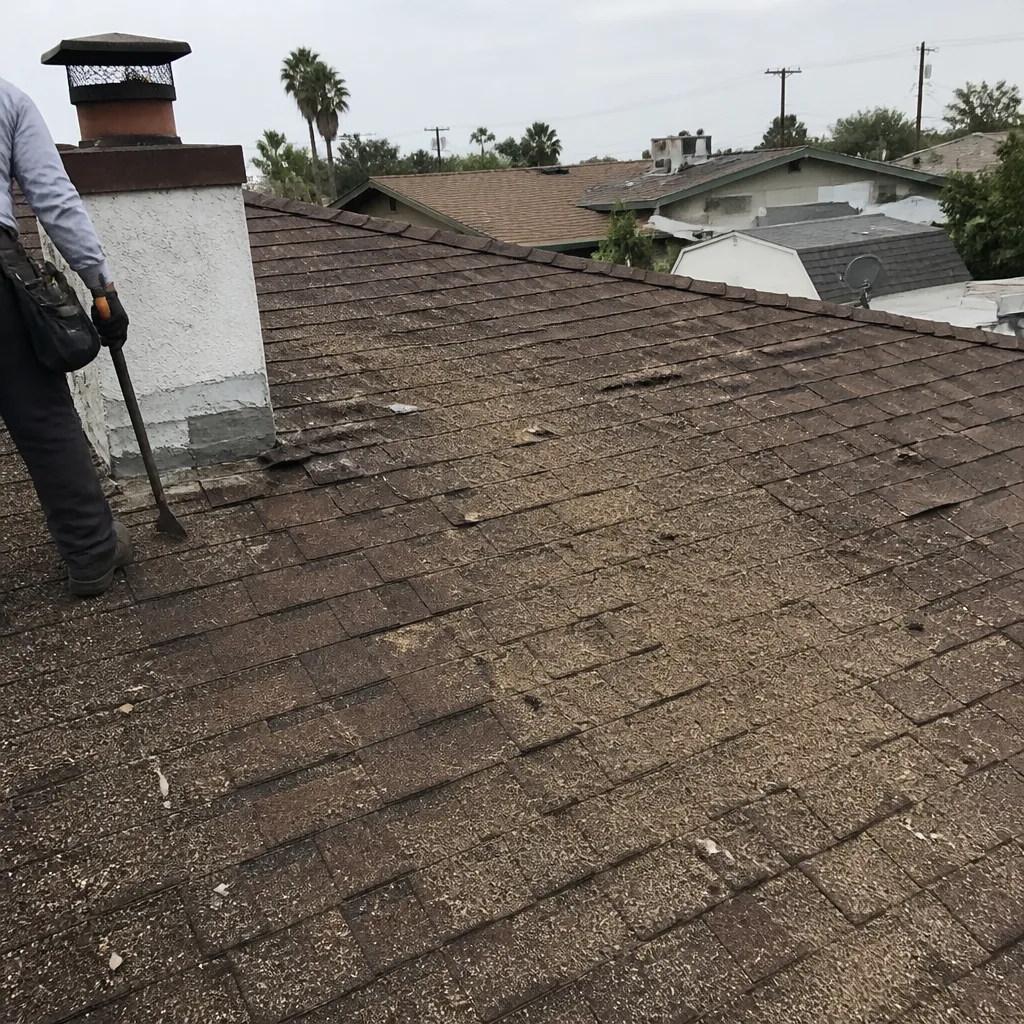
Scattered small stains usually mean the roof deck itself is saturated. The sheathing has absorbed enough moisture that water is seeping through at multiple nail penetrations and seams. This is not a single-point failure; it is a field-wide problem. In Santa Ana’s Mediterranean climate, this pattern often appears after the first heavy winter rain following several years of slow shingle degradation. The shingles have lost enough granule cover that the matting is exposed, water is soaking into the deck, and the roof has entered the replacement phase rather than the repair phase.
Stain Pattern 4: Stains at the Perimeter, Near Exterior Walls
Perimeter stains point to eave, drip edge, or gutter-side failures. Water is getting under the edge of the roof covering and wicking back toward the wall. In Santa Ana, where many homes have minimal overhang and stucco exterior walls, a missing drip edge allows water to creep behind the stucco and travel down the inside of the wall cavity before surfacing at the ceiling line. The repair often requires replacing the drip edge and the first course of underlayment, not just resealing visible gaps.
Three Field Checks You Can Do Without Climbing the Roof
Before you call a contractor, you can gather useful diagnostic data from the ground and the attic. These three checks answer the question: is this problem active, material-driven, or moisture-driven?
1. The Granule Test
- Go to the downspout outlet closest to the area of concern.
- After the next rain, look at the sediment that collects at the splash point.
- If you see a significant accumulation of colored granules, your shingles are shedding their protective layer.
Asphalt shingles lose granules as they age, but the rate matters. A light dusting is normal wear. Piles of granules mean the shingle matting is exposed and the roof is in the replacement window. The granule test works as a trailing indicator: by the time you see heavy granule loss, the shingles have already lost much of their UV protection and water-shedding capacity.
2. The Attic Moisture Test
- On a clear, dry afternoon, go into the attic and inspect the underside of the roof deck.
- Look for dark staining, white mineral deposits, or condensation on nails.
- Press your finger against suspicious areas. Dry wood that is stained but firm to the touch is likely historic. Wood that feels damp, soft, or cool is an active leak.
Santa Ana’s low humidity works in your favor here. An active leak in an attic usually dries within 48 hours after rain stops, but the moisture test is most reliable within a day or two of a storm. If you find damp wood a week after the last rain, the leak is either continuous (a plumbing issue rather than a roof issue) or the attic has ventilation problems that trap moisture.
3. The Shingle Flex Test (Ground-Level Observation)
- Stand at the corner of your yard, or across the street, where you can see the sun-facing roof plane clearly.
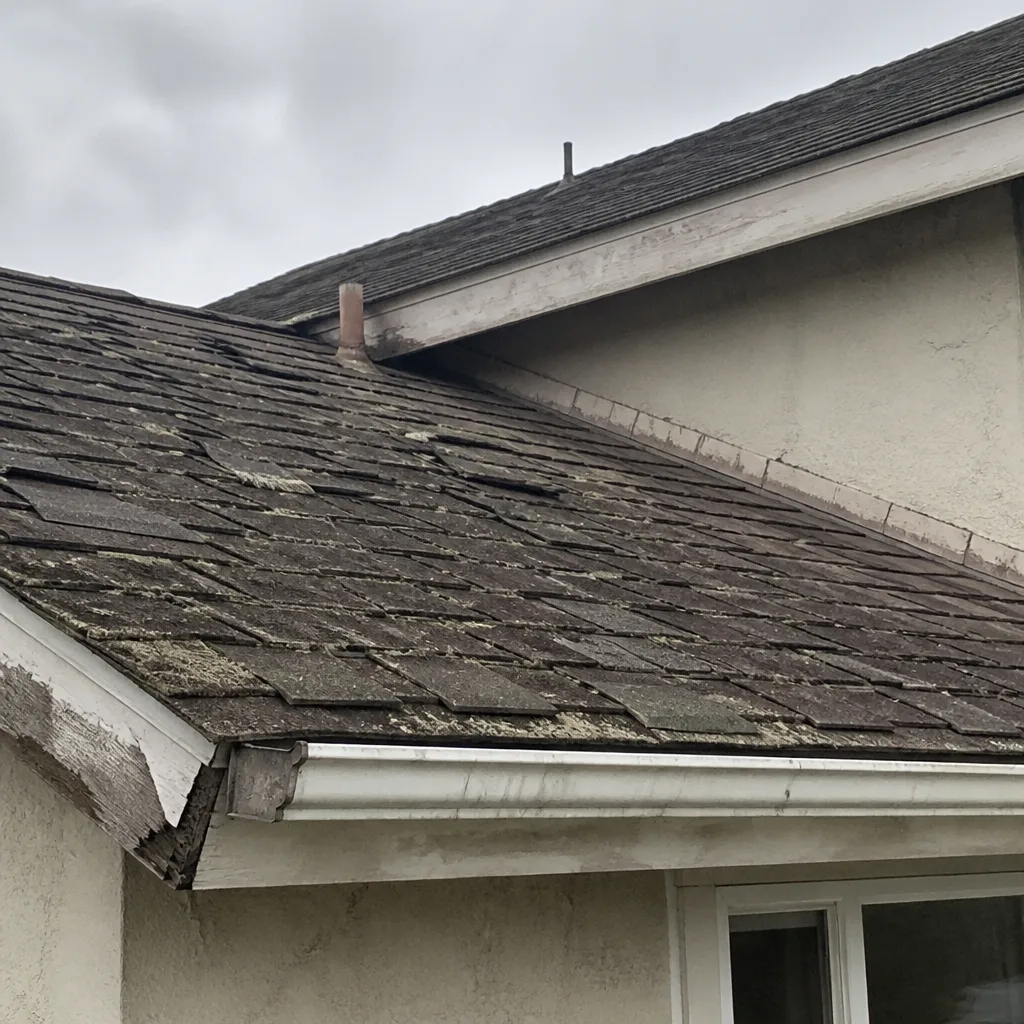
- Look at the shingle edges. Healthy asphalt shingles lie flat. Aging shingles curl upward at the corners, cup in the middle, or lift at the edges.
- Look at the color uniformity. Shingles that have lost granule cover show dark patches where the asphalt matting is visible.
This is a materials-age assessment, not a leak diagnosis. But it tells you whether a repair is likely to hold. If the shingles around a proposed repair area are curling and brittle, they will crack when lifted, which turns a small patch job into a larger one. That is useful information to have before you schedule a repair.
Flashing Failures: Why Most Are Installer Errors
Flashing failures are the most common source of roof leaks, and the most revealing statistic about them is this: in our experience, the majority are installation errors, not material failures. Galvanized steel, aluminum, and copper flashing products from manufacturers like GAF and CertainTeed are engineered to last decades. What fails first is the way they were installed.
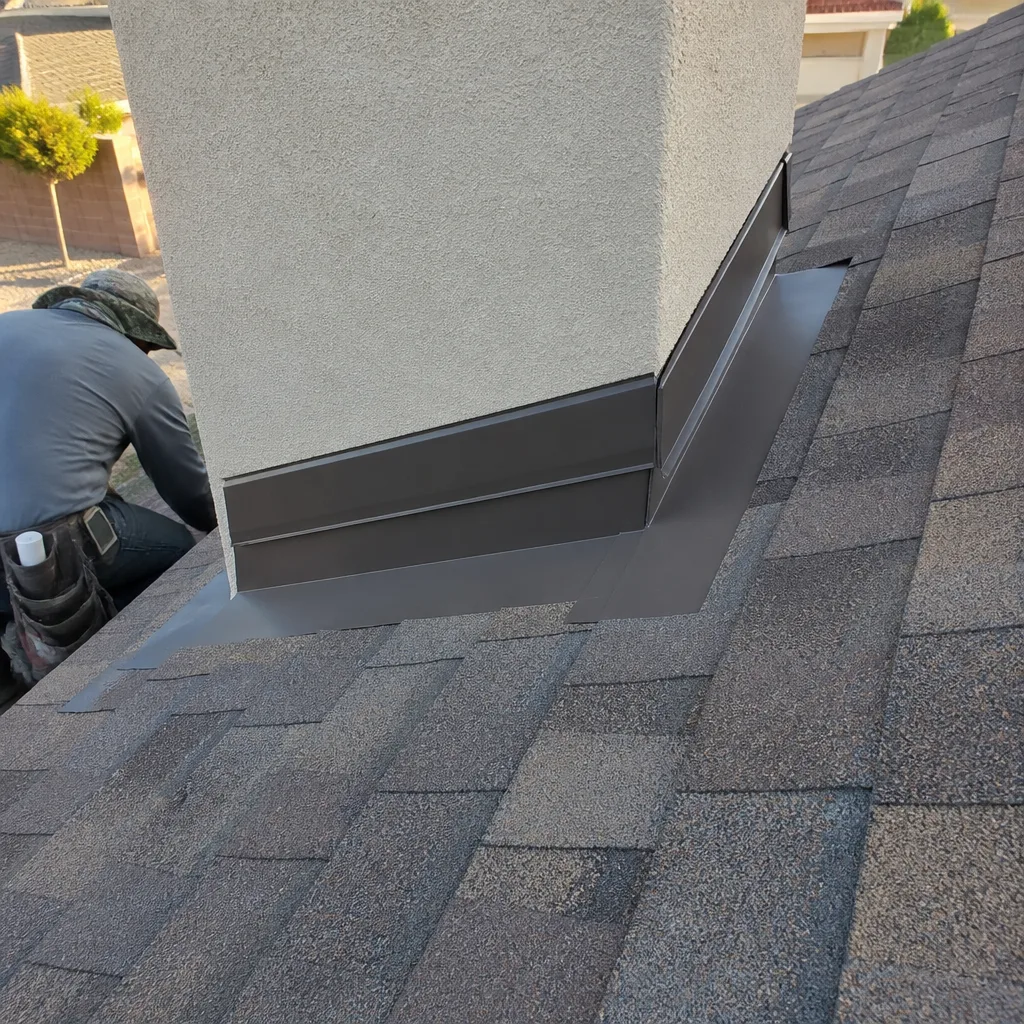
The most frequent flashing defect is improper lap direction. Flashing must lap like shingles: upper piece over lower piece, so water sheds downhill. When a roofer laps them backward, water hits the seam and runs under the flashing instead of over it. The second most common error is missing or inadequate step flashing at sidewalls. Step flashing is individual L-shaped pieces that weave between each shingle course. On reroofs, the step flashing is often reused instead of replaced, or shortened to save material, leaving gaps at the wall intersection.
What this means for warranty claims: if your roof is relatively new and the leak is at a flashing point, the material warranty likely does not apply. Material warranties cover manufacturer defects, not workmanship. The installation is the contractor’s responsibility. In Santa Ana, where many homes are stucco on wood frame, flashing failures at sidewalls are especially damaging because water that gets behind stucco can travel long distances before becoming visible, causing rot that extends far beyond the roof edge.
When flashing is done correctly, with the right material and proper lap orientation, it should outlast the shingle field around it. That is why a flashing repair, when done properly, is one of the most durable repairs a roof can receive.
Active Leaks vs. Historic Moisture: Knowing the Difference
Not every stain means there is an active leak. Historic moisture damage is common in Santa Ana homes, especially those built before 1980, when roof design and underlayment standards were different. A stain that appeared in 2019, was repaired from the exterior, and never re-stained is dead history. You should not pay to fix it again.
Here is how to distinguish active from historic moisture:
- Stain edge sharpness: An active stain has a defined edge, often with a wet-looking center. A historic stain has feathered, diffuse edges and is uniformly dry.
- Mineral deposits: White or yellowish mineral rings indicate water evaporated from that spot. If the ring is crusty and flaky, the leak happened recently. If it is hard and set, it is old.
- Surface texture: Active drywall damage is soft or spongy. Historic damage is brittle and cracks when pressed.
- Location relative to roof features: If the stain is directly below a pipe boot, valley, or flashing point, and those features show repair work from a previous fix, the exterior repair likely stopped the original leak.
The practical test is simple: wait for the next significant rain and check the stain. If it grows or the drywall feels damp, the leak is active. If it stays the same, the stain is cosmetic. If after several rains the stain remains unchanged, you can prime and repaint with confidence. Many homeowners in Santa Ana pay for new roof work on the basis of stains that have not been active in years. A standalone Roof Inspection in Santa Ana will tell you which is which before any repair is scoped.
Four Problems Contractors Usually Fix Correctly
Some roofing problems are so common and so straightforward that most competent contractors handle them well. If your issue falls into one of these four categories, a standard repair is likely to be the right call, and the work should be straightforward to quote and complete.
1. Pipe Boot Replacement
Plumbing vent pipe boots are rubber or neoprene gaskets set into a metal or plastic flange. They degrade from UV exposure and thermal cycling. Replacement involves lifting the shingles around the penetration, sliding the old boot out, installing a new one, and resealing. It is a two-hour job. Done correctly, it lasts 15 to 20 years. Done poorly, with caulk instead of proper shingle integration, it leaks again within six months.
2. Ridge Cap Replacement
Ridge caps are the shingles that cap the peak of the roof. They take more wind exposure than any other component. In Santa Ana’s Santa Ana wind events, ridge caps are often the first thing to lift. Replacing a section of ridge cap is straightforward: remove the damaged pieces, inspect the underlayment at the ridge, install new caps with matching nails, and seal. It is a roof-adjacent repair, not a roof replacement.
3. Valley Debris Clearance and Repair
Roof valleys channel water from two roof planes into the gutter. They also channel leaves, twigs, and in Santa Ana, windblown palm fronds. Debris that sits in a valley holds water against the shingles and accelerates deterioration. Clearing the valley and replacing the affected shingles or valley metal is a common, well-understood repair. The key is to inspect the underlayment beneath the valley; if it has rotted, the repair expands to include deck replacement.
4. Missing or Lifted Shingles
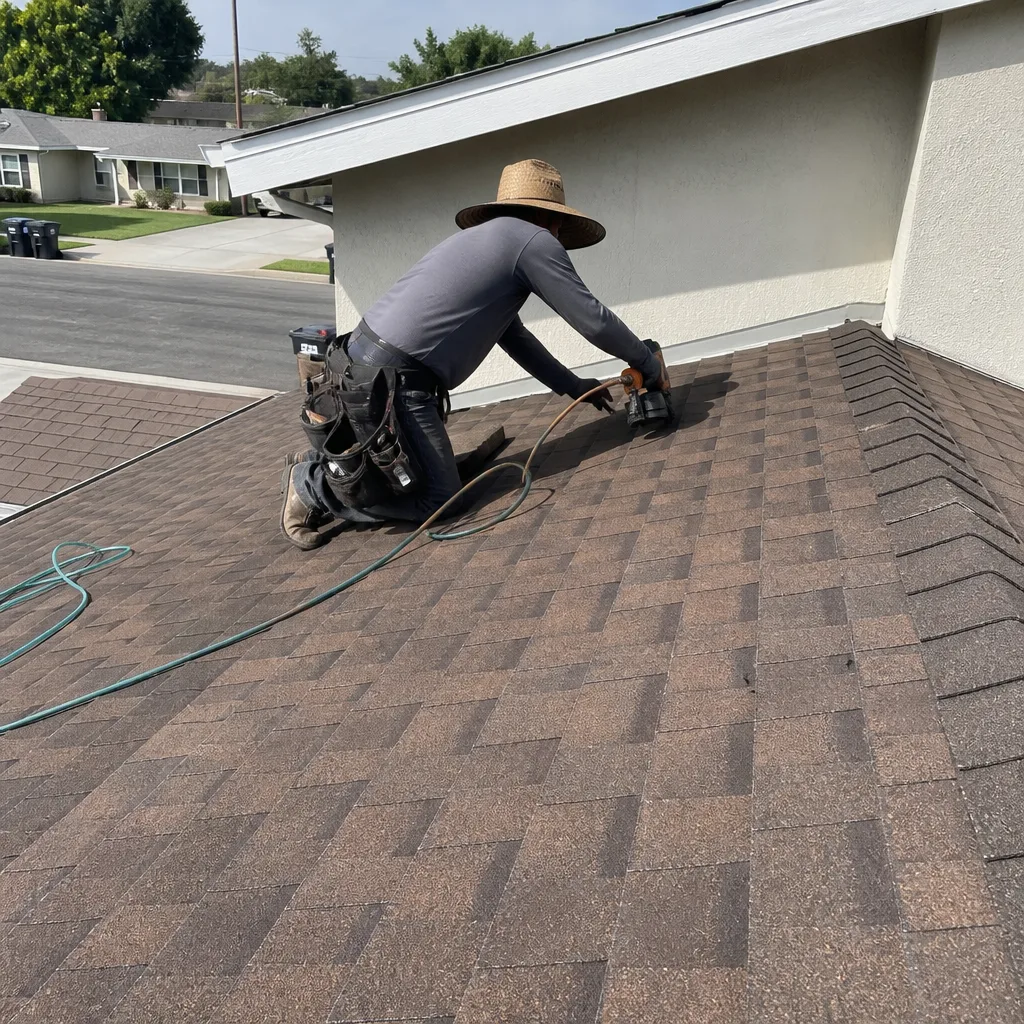
Wind events lift shingles and snap their adhesive seal. The repair is straightforward: replace the missing shingles and reseal the lifted ones. The important variable is matching. A different brand or color of shingle stands out and may not integrate properly. Contractors who work with multiple brands can match the existing roof more precisely than those locked into one manufacturer’s product line.
Two Problems Contractors Routinely Misdiagnose
These are the cases where the standard repair does not fix the actual problem, either because the symptom is misleading or because the contractor never goes into the attic. These two misdiagnoses are the most common reasons a homeowner pays for repeated roof repairs without resolution.
1. Attic Ventilation-Driven Moisture
The classic misdiagnosis: homeowner reports water staining on the ceiling. Contractor sees staining on the underside of the roof deck in the attic. Contractor concludes a roof leak and replaces a section of shingles. The staining returns. The actual cause is condensation, not penetration. In a Santa Ana home with insufficient attic ventilation, warm moist air rises from the living space, hits the cool underside of the roof deck at night, and condenses. The water drips onto the top side of the ceiling drywall and stains it. The fix is ventilation: intake vents at the eaves and exhaust vents at the ridge, sized appropriately for the attic volume. Repairing shingles will never solve it.
Tilecraft Roofing starts with the inspection inside, not outside. When the attic shows uniform dampness across a wide area rather than a localized wet spot at a known penetration, ventilation is the first hypothesis we check.
2. Improper Underlayment Laps
The second routine misdiagnosis comes from reroofs where the underlayment was installed incorrectly. Underlayment, the felt or synthetic layer under the shingles, must lap like shingles: upper course over lower course. When the laps are reversed, water that gets past the shingles runs under the underlayment and into the deck. The leak appears in the field, not at a flashing point, which leads contractors to chase shingle defects that are not the culprit. The repair requires removing the shingles in the affected area, correcting the underlayment lap, and reinstalling. It is a larger repair than it looks, and it is often the real reason a newer roof leaks.
What Santa Ana’s Climate Does to Roofs
Santa Ana has a roof-aging climate shaped by four forces: intense UV exposure, the Santa Ana wind events that arrive from the desert in fall and winter, seasonal heavy rain concentration, and the marine layer that brings morning moisture. Each one attacks a different component of the roof system.
UV exposure is the silent degrader. Santa Ana averages around 280 sunny days per year. Asphalt shingles are designed for that exposure, but only up to a point. Multiple manufacturers engineer their products for different climates, and a shingle rated for a cloudy coastal environment will not perform the same as one rated for the inland sun. When we scope a roof in Santa Ana, we are matching the material to the actual exposure, not just the price point.
Santa Ana winds are the acute threat. Sustained high wind gusts lift shingle edges, break the adhesive seal, and rip flashing loose. They also drive debris: tree branches, palm fronds, and whatever else the wind picks up, into valleys and under lifted shingles. A roof that weathered the wind event without visible damage may still have broken seals that will leak during the next rain.
The rain concentration matters too. Santa Ana gets most of its annual rainfall in a handful of storm events between November and March. That means a roof has to shed a year’s worth of water in a few concentrated bursts. A small gap that would never be exposed in a region with steady light rain becomes a leak source during a Santa Ana downpour.
And the marine layer plays a role often overlooked. Morning fog and dew settle on roof surfaces, and in attics with poor ventilation, that moisture condenses on the underside of the deck. Over decades, that cyclic dampness rots sheathing from the inside, even on a roof that has no exterior leak.
Material-Specific Troubleshooting: Asphalt, Tile, and More
Different roof materials fail differently, and troubleshooting requires knowing which failure modes apply to your roof type. At Tilecraft Roofing home, we work across seven manufacturer brands, including GAF, CertainTeed, Tamko, and Boral, which means we are not locked into recommending one material type when a different one fits the home and climate better.
Asphalt Composition Shingles
Asphalt shingles, whether from GAF, CertainTeed, Tamko, or another manufacturer, fail primarily through granule loss, seal failure, and curling. The granule test described earlier is the best diagnostic. A shingle field that has lost its granules is nearing the end of its service life regardless of what any individual shingle looks like. Seal failure shows up as lifted shingle corners after wind events. Curling is a sign of thermal fatigue. None of these failure modes is repairable in the long term; they are indicators that the field is aging out.
Concrete and Clay Tile
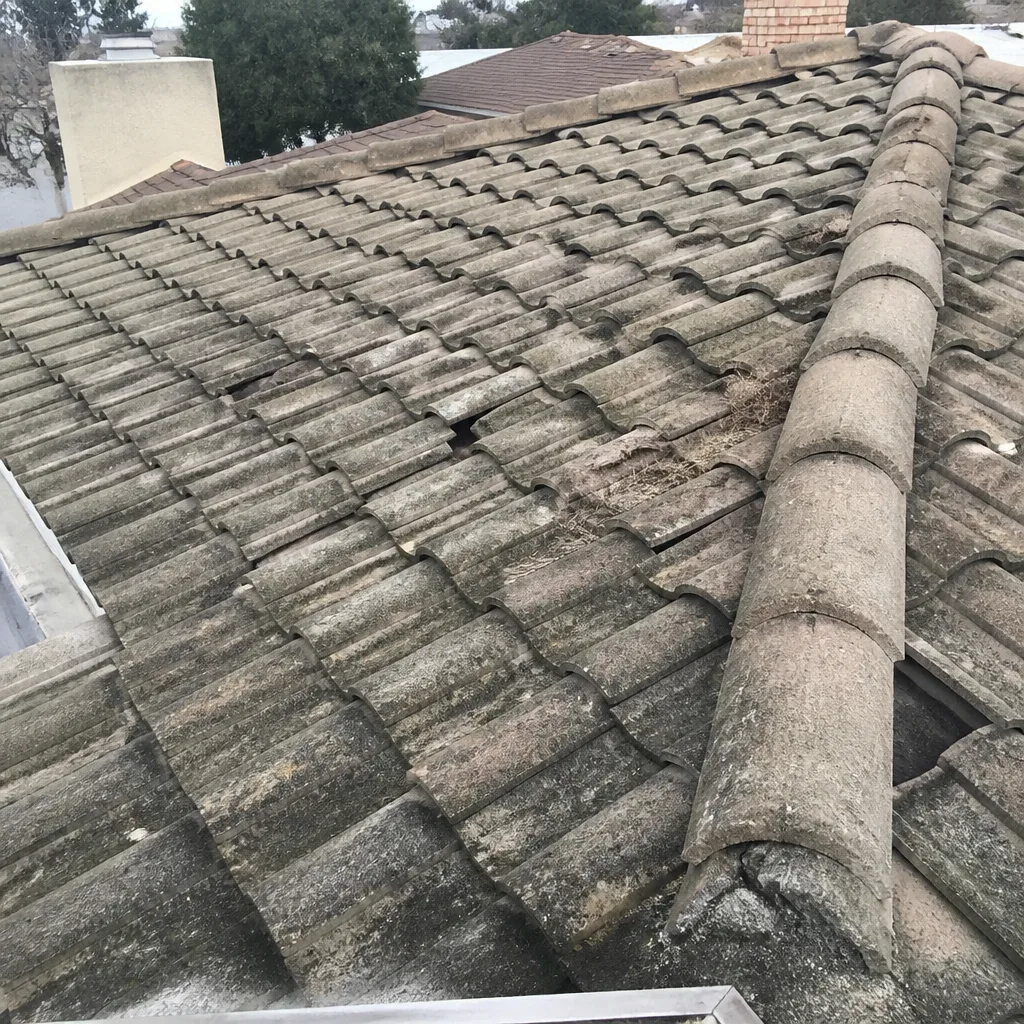
Tile roofs, including Boral tile systems, fail differently. The tile itself is durable; the underlayment beneath it is not. Tile roof leaks usually trace to cracked or displaced tiles that expose the underlayment, then to underlayment that has degraded beneath otherwise sound tiles. A tile that slid out of place after a wind event leaves a direct path for water. Repairs require a specialist comfortable with the weight and fragility of tile; stepping on tiles to reach a problem area can crack more tiles than it fixes. In Santa Ana, tile roofs are common on Spanish-style homes, and finding a contractor who understands tile underlayment systems is more valuable than one who only works with shingles. Our work with Boral means we handle these systems regularly.
Flat and Low-Slope Roofs
Low-slope roofs, common on mid-century Santa Ana ranches, fail at seams, flashings, and ponding areas. Ponding water is the red flag; if water stands on a low-slope roof for more than 48 hours after rain, the roof membrane is aging or the drainage is inadequate. Repairs range from seam reinforcement to targeted membrane replacement. The underlying deck must be checked for rot at every leak point.
Common Mistakes to Avoid
- Patching the ceiling before finding the source. The stain is the symptom, not the problem. If you patch and paint before the exterior repair is done, you will be repainting the same ceiling next winter.
- Caulking over flashing gaps. Caulk is a temporary seal, not a structural repair. On a Santa Ana roof exposed to thermal expansion and contraction, caulk fails within one season. The flashing needs to be corrected, not glued.
- Assuming one stain means one leak. A roof can have multiple concurrent leak points, especially after a wind event that damaged several areas. Fixing one does not guarantee the roof is watertight.
- Ignoring the attic. The fastest way to misdiagnose a roof problem is to skip the attic inspection. The attic shows the water path, the condition of the deck, and the presence or absence of ventilation.
- Replacing shingles on a roof that is already in the replacement window. If the granule test shows heavy loss, a patch is spending money that will be lost when the roof is replaced. Better to know the roof’s age and condition before paying for repairs.
- Choosing material based on the contractor’s inventory. Some contractors recommend whatever they stock. A roof recommendation should be based on the home’s exposure, architecture, and budget, not on what the roofer has in the yard. Seven leading brands, one crew means the conversation starts with your roof, not our warehouse.
When to Call a Professional
You can troubleshoot from the ground and the attic, but the actual repair belongs to a professional. For Roofing Emergency Preparedness Guide for Santa Ana Homes, see our dedicated resource. Call a contractor when the leak is active and the source is at a flashing point, valley, or penetration; when the granule test shows heavy granule loss; when the stain pattern indicates multiple leak points; or when the attic ventilation is clearly inadequate. Roof work in Santa Ana requires permits for anything beyond basic repairs, and the sequencing of underlayment, flashing, and shingles is unforgiving for DIY attempts. Tilecraft Roofing offers free estimates in Santa Ana – call (833) 467-4846 and we will inspect the roof before we quote anything.
Frequently Asked Questions
For a detailed Roofing Cost Breakdown: The Santa Ana Homeowner’s Reference for 2026, roof repair in Santa Ana typically ranges from $350 to $900 for targeted repairs like pipe boot replacement, single flashing fixes, or a small shingle patch. Larger repairs that involve valley replacement, deck repair, or multiple flashing points can run $1,200 to $3,500. The price depends on the roof’s pitch, material, access difficulty, and whether the underlayment beneath the repair area is sound. Call (833) 467-4846 for a line-item quote on your specific repair; estimates are free.
You can diagnose a leak from the ground and attic, but the repair itself involves working at height on a surface that is often steeper, slicker, and more fragile than it looks from below. The safety risk is real, and the sequencing of shingles, underlayment, and flashing is unforgiving. A homeowner who patches a leak and misses the underlayment lap will have a larger leak next season. We recommend a trained professional for any repair that requires lifting shingles or replacing flashing.
Check the stain during or immediately after the next significant rain. If the stain grows, darkens, or the drywall feels damp, the leak is active. If the stain remains unchanged through several rains, it is historic and the exterior source has likely already stopped. A Roof Inspection in Santa Ana can confirm whether the exterior detail that caused the stain has been corrected.
Santa Ana’s combination of intense UV exposure, seasonal Santa Ana wind events, concentrated winter rainfall, and marine-layer moisture creates a specific failure pattern. Pipe boots degrade from UV, flashing loosens during wind events, and the concentrated rain exposes any gap that would stay dry in a milder climate. Attic condensation from the marine layer is also common in under-ventilated attics.
Most targeted repairs, including pipe boot replacement, single flashing corrections, and small shingle patches, are completed in half a day. Repairs that involve valley work, deck replacement, or multiple penetrations can take a full day or more, depending on weather and access. The estimate will include a time window specific to your repair.
Repairs that exceed the scope of basic maintenance require permits in Santa Ana. We pull permits and schedule inspections when the scope calls for it, and the estimate will state whether a permit applies to your repair. Small targeted fixes that fall under maintenance thresholds do not require one.
Roof repair addresses a localized failure: one flashing point, one pipe boot, one section of damaged shingles. Roof replacement addresses a systemic condition: granule loss across the field, curling or brittle shingles throughout, deck saturation in multiple areas, or underlayment failure on a tile roof. The decision is driven by the roof’s age, material condition, and the number of repair points. When a repair is done, the surrounding roof must be sound enough to hold it. When it is not, a Roof Replacement in Santa Ana is the better investment.
The Bottom Line
Roof troubleshooting starts with the interior symptom and works backward to the exterior source. Explore more guides & resources to protect your home. The ceiling stain is a map; the attic is the record; the roof surface is the conclusion. In Santa Ana’s specific climate, UV degradation, wind-driven debris, and concentrated winter rain create a predictable set of failure modes, most of which are repairable when caught early. The mistakes that cost homeowners the most are patching without tracing, caulking flashing that needs correction, and replacing shingles on a roof that is already in the replacement window. We look before we quote, because the right material for your roof is the one that matches the actual conditions, not the one sitting in the warehouse.
Roof Repair in Santa Ana starts with a free estimate and an honest assessment. Call (833) 467-4846 to schedule yours.
Written by the team at Tilecraft Roofing, serving Santa Ana since 2012.
See the difference
 Before
 After
 Before
 After
 Before
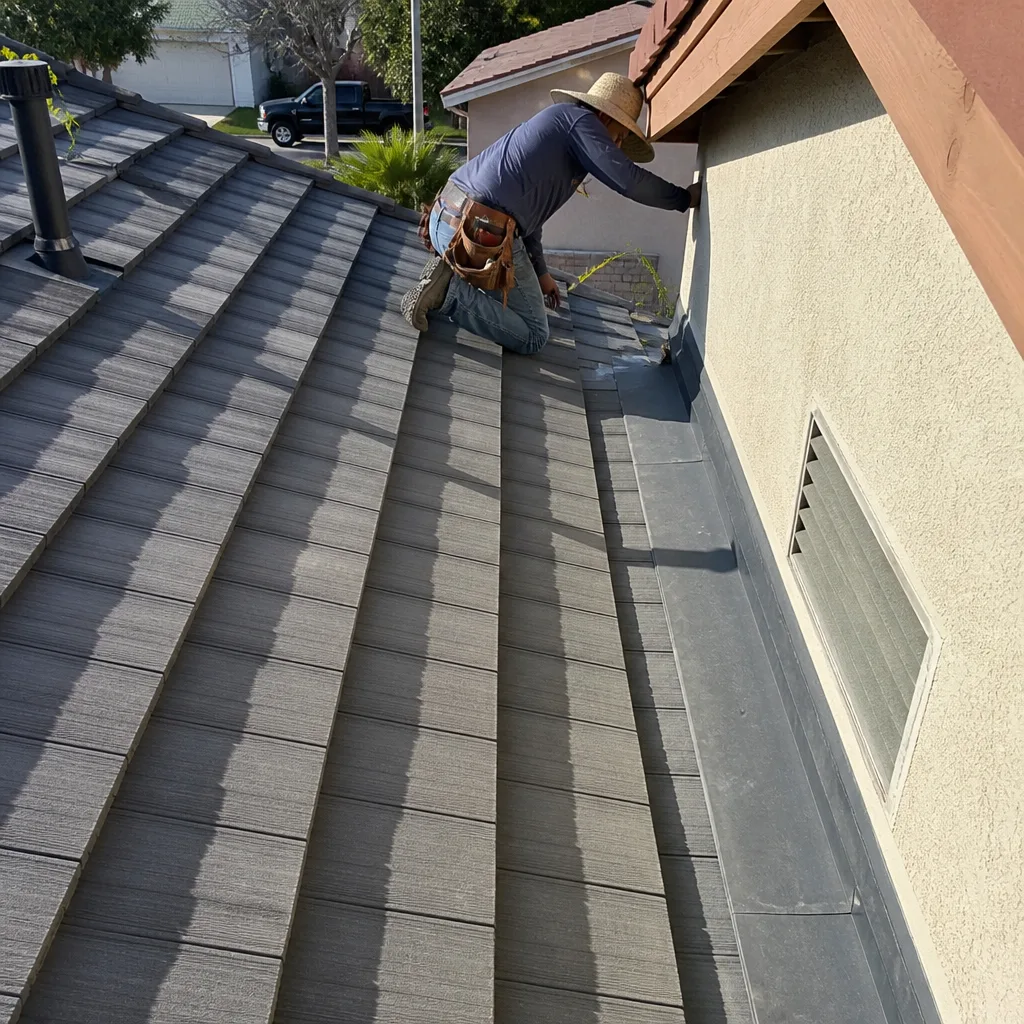 After